
8x8x1 Air Filters
Actual Size: 8.0x8.0x0.75
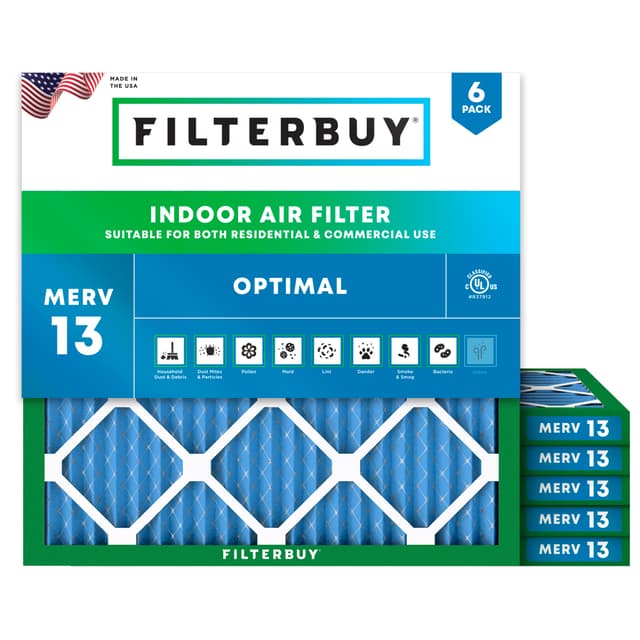
3 month filters
2. Select Quantity
Buying multiple sizes?


Made in the USA
Ships in 24 hours
8x8x1 Air Filters Air Filter Description
Available In MERV Rating: 13, 11, 8
Made in the USA
Ships in 24 hours
Merv comparison
Scroll to see more.
 MERV 8 |  MERV 11 |  MERV 13 | |
|---|---|---|---|
| Best for | Standard Residential/Commercial Healthy Families | Superior Residential/Commercial Allergy Sufferers | Optimal Residential/Commercial Hospital Grade |
| Comparable ratings | MPR 600 & FPR 5 | MPR 1000-1200 & FPR 7 | MPR 1500 - 1900 & FPR 10 |
| Filtration | Captures 90% of Airborne Particles | Captures 95% of Airborne Particles | Captures 98% of Airborne Particles |
| Dust, lint & debris | |||
| Mold, pollen | |||
| Dander, dust mites | |||
| Smoke & Smog | |||
| Bacteria | |||
| Odor, vocs |
Is it time to change your filter?
Generally, we recommend you replace your air filters every 90 days. Find out below if you should change your filters more often.

If someone in your home has asthma or allergies...
Change your filter every
6 weeks
to ensure indoor air quality is at its best.

If you have pets...
Change your filter every
2 months
to avoid shedding and odor buildup.

If you have young children...
Change your filter every
2-3 months
as having clean air is even more important with children in your home.
If someone in your home has asthma or allergies...
Change your filter every
6 weeks
to ensure indoor air quality is at its best.
If you have pets...
Change your filter every
2 months
to avoid shedding and odor buildup.
If you have young children...
Change your filter every
2-3 months
as having clean air is even more important with children in your home.
Tips on How to Install 8x8x1 Air Filter – A Simple Guide to Replacing Your Air Conditioner Filter Safely and Correctly
How to Properly Install 8x8x1 Air Filters in Your AC Unit
Many homeowners delay changing their AC filters because they’re unsure how or afraid they’ll do it wrong. As someone who's maintained HVAC systems in tight Florida spaces and serviced countless homes with airflow issues, I can tell you: installing an 8x8x1 air filter is quicker and easier than most people think. With the right filter and a few simple precautions, you can extend your system’s life, reduce allergens, and lower your energy bills. This guide offers real-world tips learned through experience so you get the job done right the first time.
🛠️ Installing Your 8x8x1 Air Filter: A Simple Step-by-Step Overview
Replacing your air conditioner filter is one of the easiest ways to improve indoor air quality and protect your HVAC system—and with an 8x8x1 air filter, the process is quick and hassle-free.
Here’s how to do it right:
Turn Off Your HVAC System
Always shut the system off for safety before replacing your filter.
Locate the Filter Slot
Most residential units have the filter behind a return air vent or inside the air handler. Check your system manual if unsure.
Remove the Old Filter
Carefully slide it out and note the airflow direction marked on the frame.
Insert the New Filter
Place the new 8x8x1 filter with the airflow arrows pointing toward the HVAC unit. Make sure it fits snugly without bending.
Turn the System Back On
Once secured, restore power and enjoy cleaner, more efficient airflow.
Pro Tip: Replace your filter every 1–3 months, depending on usage, allergies, or pet presence. Using a quality filter like those from Filterbuy ensures optimal performance and longevity.
Whether you’re a first-timer or just need a refresher, this quick process can help you breathe easier and protect your system—without calling in a professional.
📌 Top Takeaways: What to Remember About Installing 8x8x1 Air Filters
Make sure the airflow arrow points toward the HVAC system to ensure proper performance.
Always confirm you're using the correct size—8x8x1—for a secure and effective fit.
Regular replacement is key.
Change your filter every 1–3 months, depending on home activity, pets, and allergies.
Clean filters improve efficiency.
A properly installed filter helps lower energy bills and reduces strain on your system.
It’s easy to DIY.
Replacing your filter takes just a few minutes and saves money on future repairs.
📚 Case Study & Real-World Examples: Installing 8x8x1 Air Filters the Right Way
🏠 Case Study 1: Orlando Homeowner’s First DIY Filter Change
Background: Jessica, a first-time homeowner in Orlando, noticed increased dust and allergy flare-ups. After a quick inspection, she realized her AC filter hadn’t been changed in months.
Action Taken:
Purchased a pack of 8x8x1 MERV 8 filters online.
Followed an online guide to safely shut down her system and locate the return vent.
Installed the new filter in under 5 minutes.
Results:
Reduced dust buildup within a week.
Noticed better airflow and cooler air during peak Florida heat.
Set a calendar reminder to replace the filter every 90 days.
🛠️ Case Study 2: HVAC Tech Shares Common Filter Mistakes in South Florida Homes
Background: Carlos, an HVAC technician in Fort Lauderdale, services over 30 homes monthly. He often finds improperly installed or neglected filters causing airflow problems and system strain.
Common Mistakes He Sees:
Filters inserted backward (airflow arrows pointing the wrong way).
Gaps around the filter due to wrong size or poor fit.
Filters left in for 6+ months.
Best Practices He Recommends:
Always match your filter size—in this case, 8x8x1.
Align airflow arrows toward the HVAC unit.
Use moisture-resistant filters in humid areas like South Florida.
Replace every 1–3 months, depending on pets and usage.
Installing an 8x8x1 filter is simple, especially with a step-by-step guide. Just make sure the airflow arrow points the right way—it’s a small detail that makes a big difference. In Florida’s humidity, filters need to be moisture resistant to avoid sagging. Replacing your filter every 1–3 months keeps your air clean and your system running smoothly.
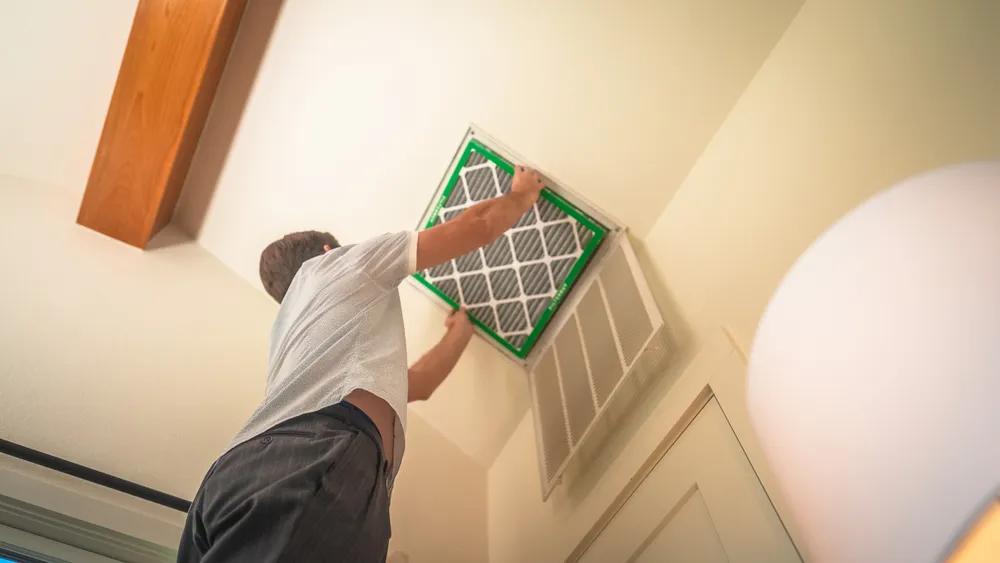
“In our years servicing HVAC systems across Florida, we’ve seen countless units pushed to the edge—not because they were old, but because filters were ignored or installed wrong. Something as simple as placing your 8x8x1 filter backward can strain your system and spike energy costs. It’s a five-minute fix that protects your air, your wallet, and your equipment long-term.”
📊 Supporting Statistics: Why Installing Your 8x8x1 Filter Correctly Matters
1. Improper maintenance leads to HVAC failure.
Replacing filters is the #1 way to keep your system running efficiently.
Pro tip: A poorly installed filter causes airflow blockages and wear.
Source: U.S. Department of Energy
2. Clean filters save 5–15% on energy bills.
Efficient airflow means your system works less to cool your home.
Real-world insight: A backward filter can cancel out energy savings.
Source: EPA – Improving Indoor Air Quality
3. Indoor air is 2–5x more polluted than outdoor air.
Pollutants build up quickly without proper filtration.
Bottom line: Correct installation of an 8x8x1 filter keeps your family safe
Source: EPA – The Inside Story on Indoor Air Quality
🧠 Final Thought & Expert Opinion: Small Step, Big Impact
🔍 Key Summary
Installing your 8x8x1 air filter properly is one of the easiest ways to improve indoor air quality, reduce energy costs, and protect your HVAC system. It takes just minutes—but the benefits can last for months.
✅ Final Takeaways
🛠️ Install your filter correctly—arrow toward airflow.
⏱️ Change it every 1–3 months based on use and home environment.
💸 Use a quality filter, and don’t wait for your system to struggle before replacing it.
Proper filter maintenance isn't just HVAC advice—it's a smart, preventative habit that every homeowner should master.
✅ Next Steps: Install Your 8x8x1 Filter with Confidence
Ready to replace your AC filter? Here’s what to do next:
1. Verify Your Filter Size
Check your old filter or HVAC manual to confirm it’s 8x8x1.
Measure the slot, if needed for accuracy.
2. Turn Off Your HVAC System
Always power off your system before replacing the filter to avoid damage or debris being pulled in.
3. Remove the Old Filter
Slide it out carefully and note the airflow direction arrows.
4. Insert the New Filter
Align the arrows to face toward the blower or duct system.
5. Restart the System
Turn your HVAC system back on and monitor airflow.
Notice the difference in air freshness and efficiency.
6. Set a Replacement Reminder
Add it to your calendar or phone reminders so you don’t forget.
Bonus Tip: Keep a few spare filters on hand so you're always prepared for the next swap.
Frequently Asked Questions
Is MERV 11 too high for residential?
MERV 11 filters are generally suitable for residential use as they effectively capture a wide range of airborne particles, including pollen, dust, and pet dander, without overly restricting airflow in most standard HVAC systems. However, it's essential to check if your system can handle the higher filtration without reducing airflow.
Do air filters have to be the exact size?
Air filters should ideally match the exact size specified for your HVAC system to ensure proper fit and function. An incorrect size can lead to air leaks, reduced efficiency, and inadequate filtration performance.
Is MERV 8 too restrictive for HVAC?
MERV 8 filters are typically not too restrictive for residential HVAC systems. They strike a good balance between air quality and airflow, capturing common allergens while allowing sufficient air to pass through, making them a popular choice for many households.
Is it okay to buy cheap air filters?
Yes, it is okay to buy inexpensive air filters as long as they are from a trusted brand and have been proven to last long and effectively serve their purpose. Quality and reliability should always be prioritized when considering cost.
Is it okay if my air filter is too big?
Using an air filter that is too big can cause installation issues and may not fit securely in the filter slot, potentially allowing unfiltered air to bypass the filter. It's important to use the correct size to ensure optimal performance and efficiency of your HVAC system.